
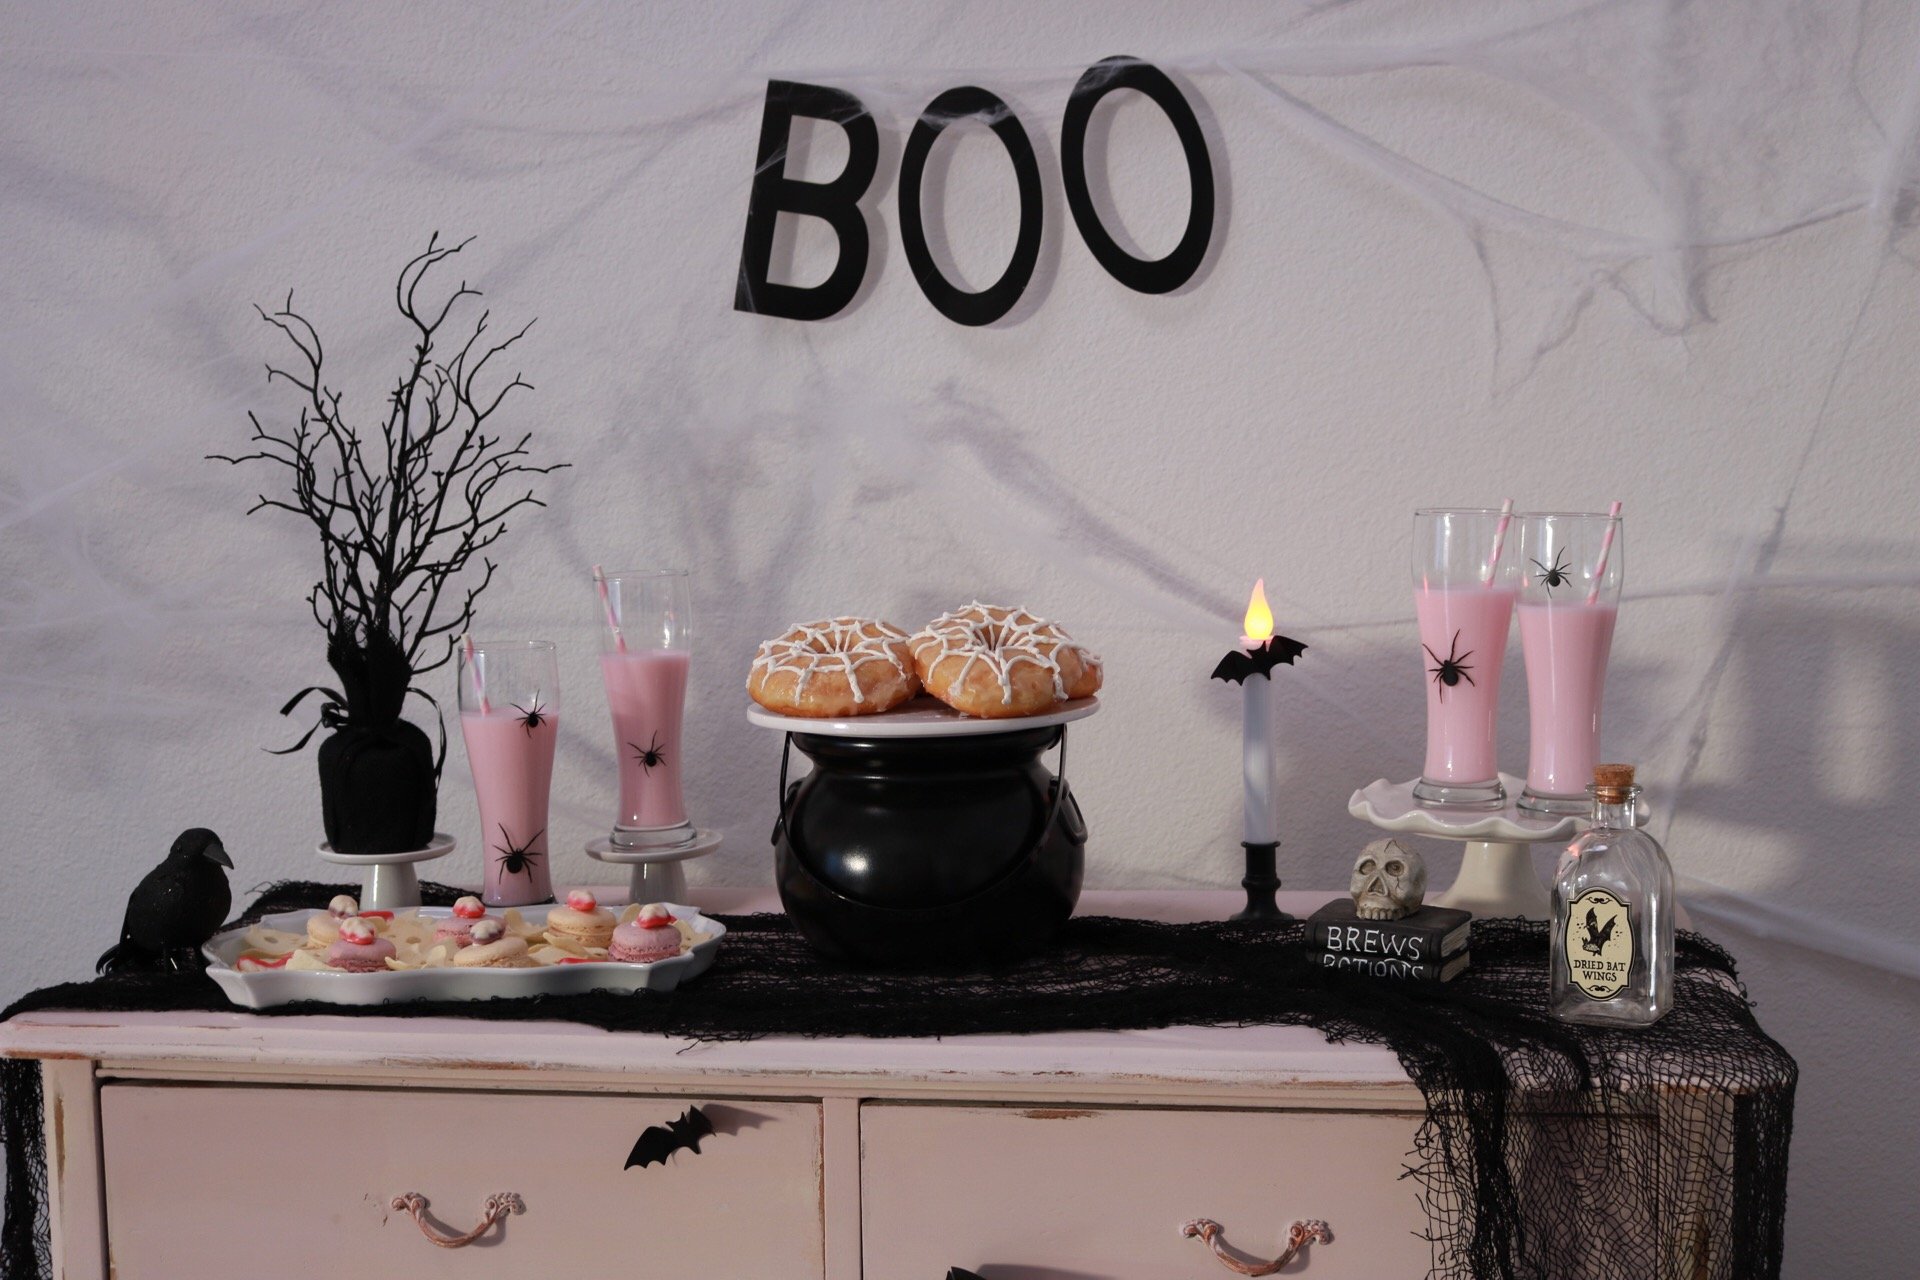
Delicious Easy DIY "Spider Web" Donuts For Halloween
STEP BY STEP DIY "SPIDER WEB" DONUTS
Hosted with: Sara Ashouri

HAPPY OCTOBER TO ALL MY HALLOWEEN LOVERS OUT THERE!
If you have been following me on Instagram then you would know that I love the month of October for many reasons! First, being Halloween ! Then all the yummy pumpkin things and lastly, it is my birthday month ! Woohoo!
I have so many great things to be thankful for this year and most of all, I am so excited to be sharing my parties and fun DIY'S with you all right here on my BLOG. So, a HUGE thank you for following along ! It means so much to me you don't even know.
Now, one more thing before I get into this step by step with you. If you do not know my sister Sara Ashouri then I must fill you in a bit before starting because her and I will be sharing lots of fun styling projects that we are planning on doing together. It's a sister sister thing I tell yah!
To start off I am older than Sara by 7 years. Despite our age difference Sara and I have many common interests. We like the same styles, We love the artsy world and love DIY's. We have decided to work together to create fun ideas that we hope will inspire you!
So, get yourself ready for this step by step that we have worked on together to inspire you! It is definitely a must try !
Let’s begin!

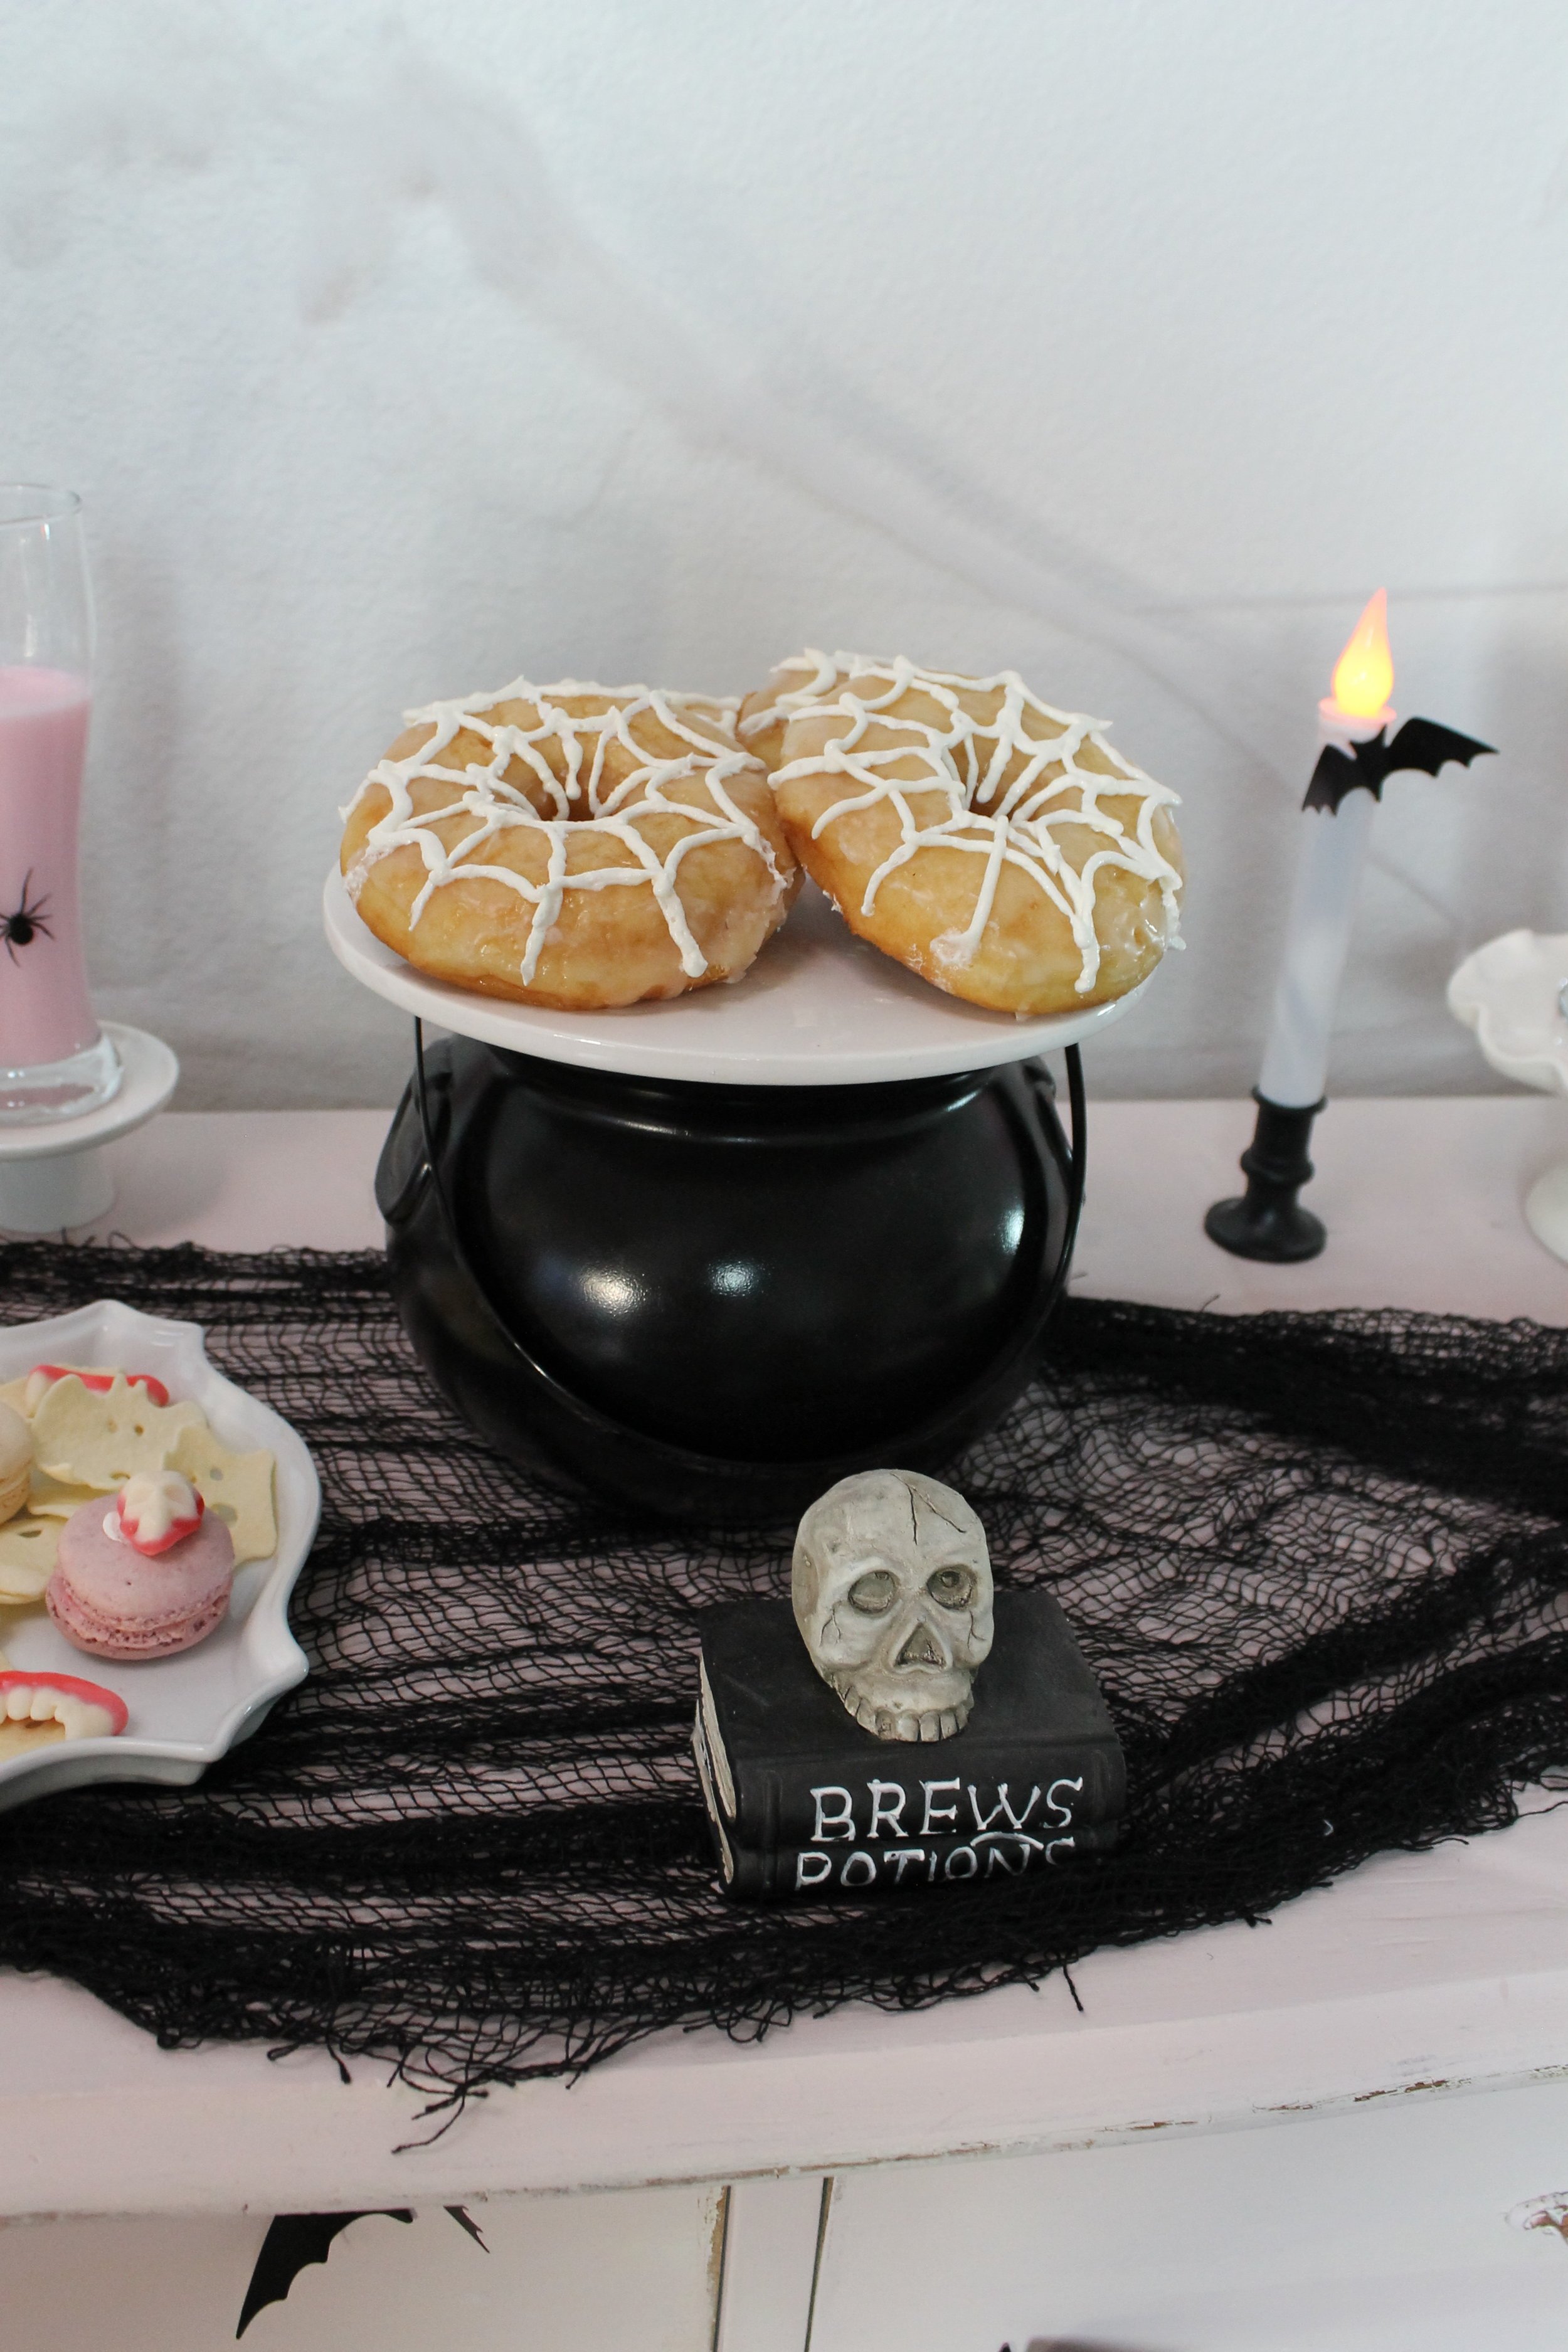
Spider Webbed Donuts
For this, I saved myself some time and bought pre-made donuts from Vons just because we decided to do this project very last minute. Otherwise, you may bake your own donuts following this simple recipe inspired by www.crunchycreamysweet.com:
BAKING SUPPLIES NEEDED:
1 cup all-purpose flour
1/4 cup + 2 Tablespoons granulated sugar
1 teaspoon baking powder
1/4 teaspoon ground cinnamon
1/8 teaspoon ground nutmeg
1/8 teaspoon salt
1/4 cup + 2 Tablespoons buttermilk
1 large egg
1 Tablespoon vegetable or canola oil
WHAT TO DO:
Preheat oven to 425 degrees F.
Spray donut pan with non-stick cooking spray. Set aside.
In a medium mixing bowl, whisk together flour, sugar, baking powder, salt, cinnamon and nutmeg.
In a large measuring cup, whisk together buttermilk, egg and oil.
Add the wet ingredients to the dry ingredients and whisk until combined. Do not overmix.
Place the batter in a Ziploc bag and close. Snip one corner of the bag.
Pipe the batter out into the prepared pan, filling the donut cavities 2/3 full.
Bake the donuts for 8 to 9 minutes. The bottom of the donuts should be golden brown and the tops should be light.
Cool the donuts in the pan for 10 minutes. Transfer onto a cooling rack.
Cool completely before glazing.
DIY FROSTING:
1 cup confectioners’ sugar
2 tblspns milk
1/2 tspn vanilla extractIn a small bowl, stir together sugar, milk, and vanilla extract until sugar is completely dissolved then dip the donuts into a bowl with the frosting in a circular motion.
On to the fun part… decorating!

DIY Frosting
I did end up making my own actual frosting that I piped through a ziplock bag using a small circular tip. This was very simple and is even easier if you own a KitchenAid mixer. All you do is take roughly 1/2-1 stick of room temperature unsalted butter (depending on how many donuts you’re making, I’m terrible at accurate measurements when it comes to this though as I eyeball it) and about 1 cup-1 1/2 cups confectioners’ sugar then MIX!
To do so properly, first add the butter alone and let it whip on high until butter appears fluffy in texture. Then, simply add in powdered sugar and turn it on LOW first (it’ll save you from the mess of powdered sugar flying everywhere) then medium to high for a few minutes or until desired texture is formed. That’s it! Add it to a pipping bag or ziplock bag and pipe away!
Step By Step Icing Décor:

Start from the inner hole of the donut and pipe lines outwards.

Begin to create the webs by piping wide “U” shapes to connect to each previous line.

Repeat the same process on the outer portion of the donut. If icing gets too runny, refrigerate it for about 10 minutes!
Thanks for joining the fun! I hope you are inspired to create something creepy!
Please don't forget to comment and share to keep the inspiration train going.
DON’T MISS THE RECENT REDFIN ARTICLE WE WERE FEATURED IN:

“Celebrate Halloween at Home with These Spooktacular Treats”
Tap the image to read our feature in REDFIN BLOG!

Hi, I’m Susan!
I truly hope you found inspiration here on my site. I am always creating and crafting parties that are fun and unique for you.
You Might Like These Posts too:


Hey there!
So glad you’re here! My name is Susan and I am founder of SugarPartiesLA. Here you will find party ideas, DIY crafts, party décor and lots of inspiration to help you recreate and celebrate life’s sweet moments!
Follow Us Here